If you live in an older home or are planning a renovation, asbestos testing is an important step to protect your health and safety. Asbestos is a hazardous material that can cause serious health problems if disturbed and inhaled. Preparing for an asbestos test properly ensures accurate results and keeps everyone in your home safe. This guide will walk you through the essential steps to take before testing for asbestos.

1. Understand What Asbestos Is
Before you begin preparing for an asbestos test, it’s important to understand what asbestos is and why testing is necessary. Asbestos is a group of naturally occurring minerals used in construction materials like insulation, roofing, and flooring due to its fire-resistant properties. However, exposure to asbestos fibres can lead to serious lung diseases, including mesothelioma and asbestosis.
When asbestos-containing materials (ACMs) are disturbed or damaged, they can release dangerous fibres into the air. These fibres can be inhaled and cause health issues over time. That’s why asbestos testing is essential if your home was built before the 1980s, especially before performing renovations.
2. Decide What Areas to Test
Asbestos testing involves sampling materials that may contain asbestos, so it’s essential to decide which areas of your home need testing. Common materials that may contain asbestos include:
- Insulation: Especially around pipes, ducts, and in attics.
- Ceiling Tiles: Often found in older homes with acoustic or popcorn ceilings.
- Flooring: Vinyl flooring tiles and adhesive materials.
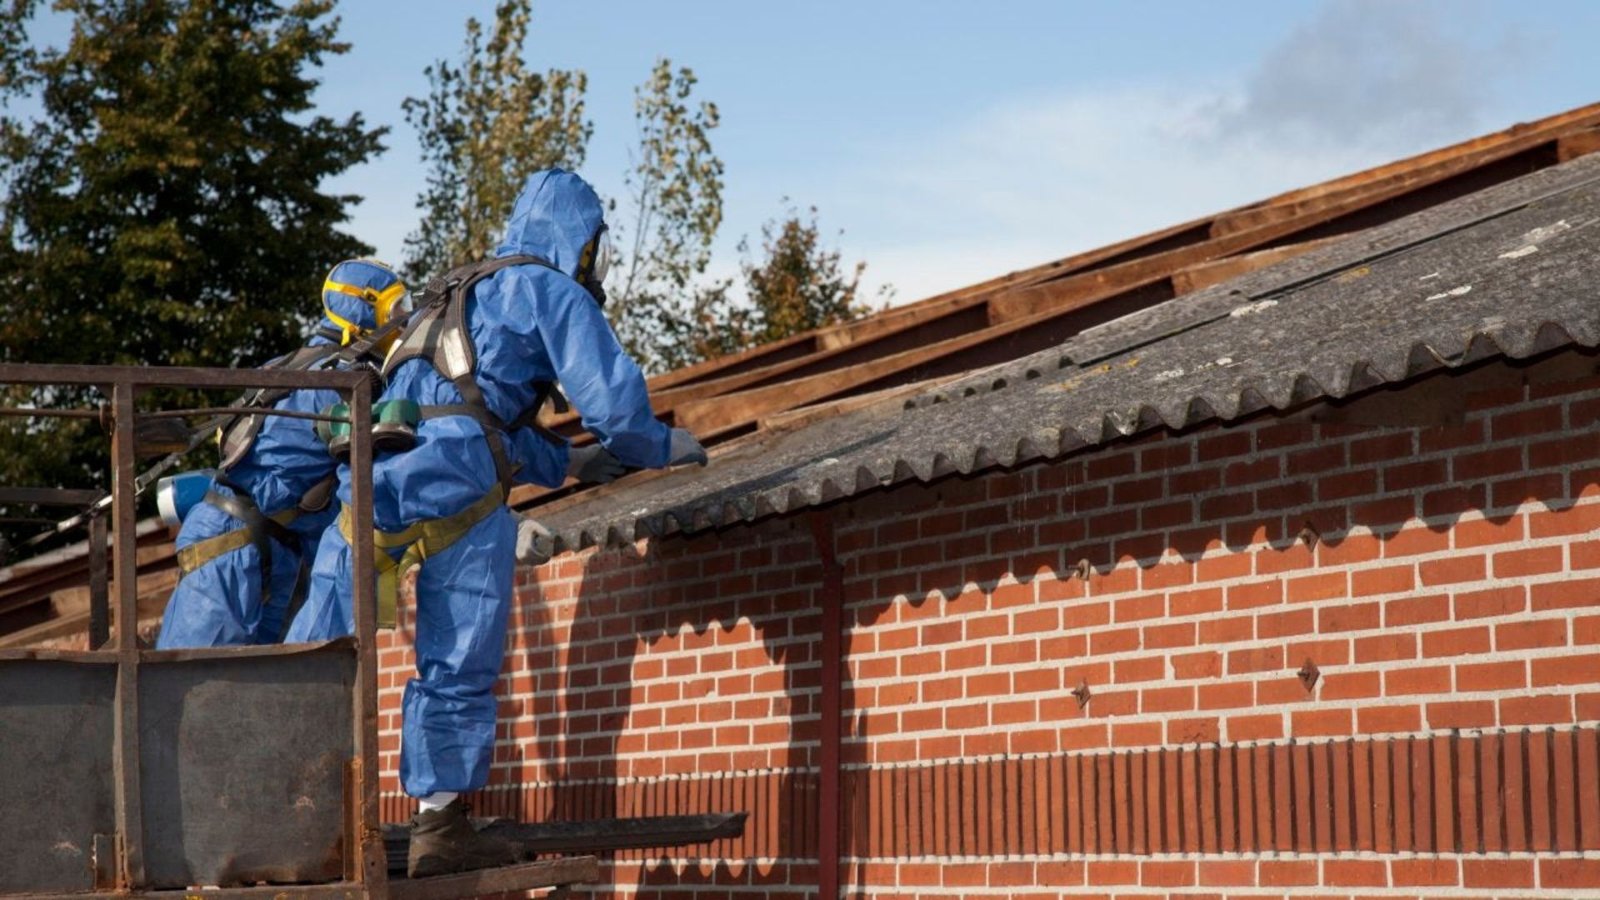
- Roofing Materials: Older shingles and roofing products.
- Wallboards and Cement Products: Used in walls, siding, and fireplaces.
If you’re planning renovations or repairs, focus your testing efforts on areas where you intend to work. Even if you’re not planning any work, it’s still a good idea to test areas where asbestos is most likely to be present.
3. Hire a Certified Asbestos Inspector
The most important step in preparing for an asbestos test is hiring a professional who is trained and certified in asbestos testing. Certified asbestos inspectors are experts who know how to handle asbestos safely and efficiently. They will identify which materials may contain asbestos and collect samples in a way that avoids contamination or accidental exposure.
Why hire a professional?
- Safety: Asbestos fibres are harmful when inhaled, and an inspector knows how to minimize exposure.
- Accuracy: A certified inspector knows how to collect samples properly for accurate lab results.
- Compliance: Certified professionals adhere to local regulations regarding asbestos testing and removal.
Don’t try to test for asbestos yourself. Handling it improperly can be dangerous to your health.
4. Prepare Your Home for the Inspection
While the asbestos inspector will handle most of the work, you should take a few steps to prepare your home to ensure the process goes smoothly.
4.1 Clear the Area
Make sure the areas to be tested are accessible and free of any obstacles. For example, move furniture, rugs, or appliances away from areas where testing will take place, such as attics, basements, or walls. The inspector needs easy access to the materials being tested, so clearing the space will help them perform their job efficiently.
4.2 Limit Access
If you live in a multi-family home or have pets, make sure to limit access to the areas where the inspection will occur. Keep everyone (including pets) out of the areas being tested to minimize the risk of exposure to asbestos fibres.
4.3 Communicate Any Concerns
Let the asbestos inspector know if you have any specific concerns. For example, if you’ve already done renovations in certain areas of your home, or if you’ve noticed any signs of damage to certain materials (like cracked ceiling tiles or insulation), communicate this information to the inspector.
5. Understand the Testing Process
It’s helpful to understand what will happen during the asbestos test, so you can plan accordingly.
5.1 Sample Collection
The asbestos inspector will take small samples from the materials that might contain asbestos. This could include insulation, ceiling tiles, flooring, or wallboard. The inspector will typically use a specialized tool to collect the sample without disturbing the material too much, to avoid releasing any fibers into the air.
5.2 Safety Precautions
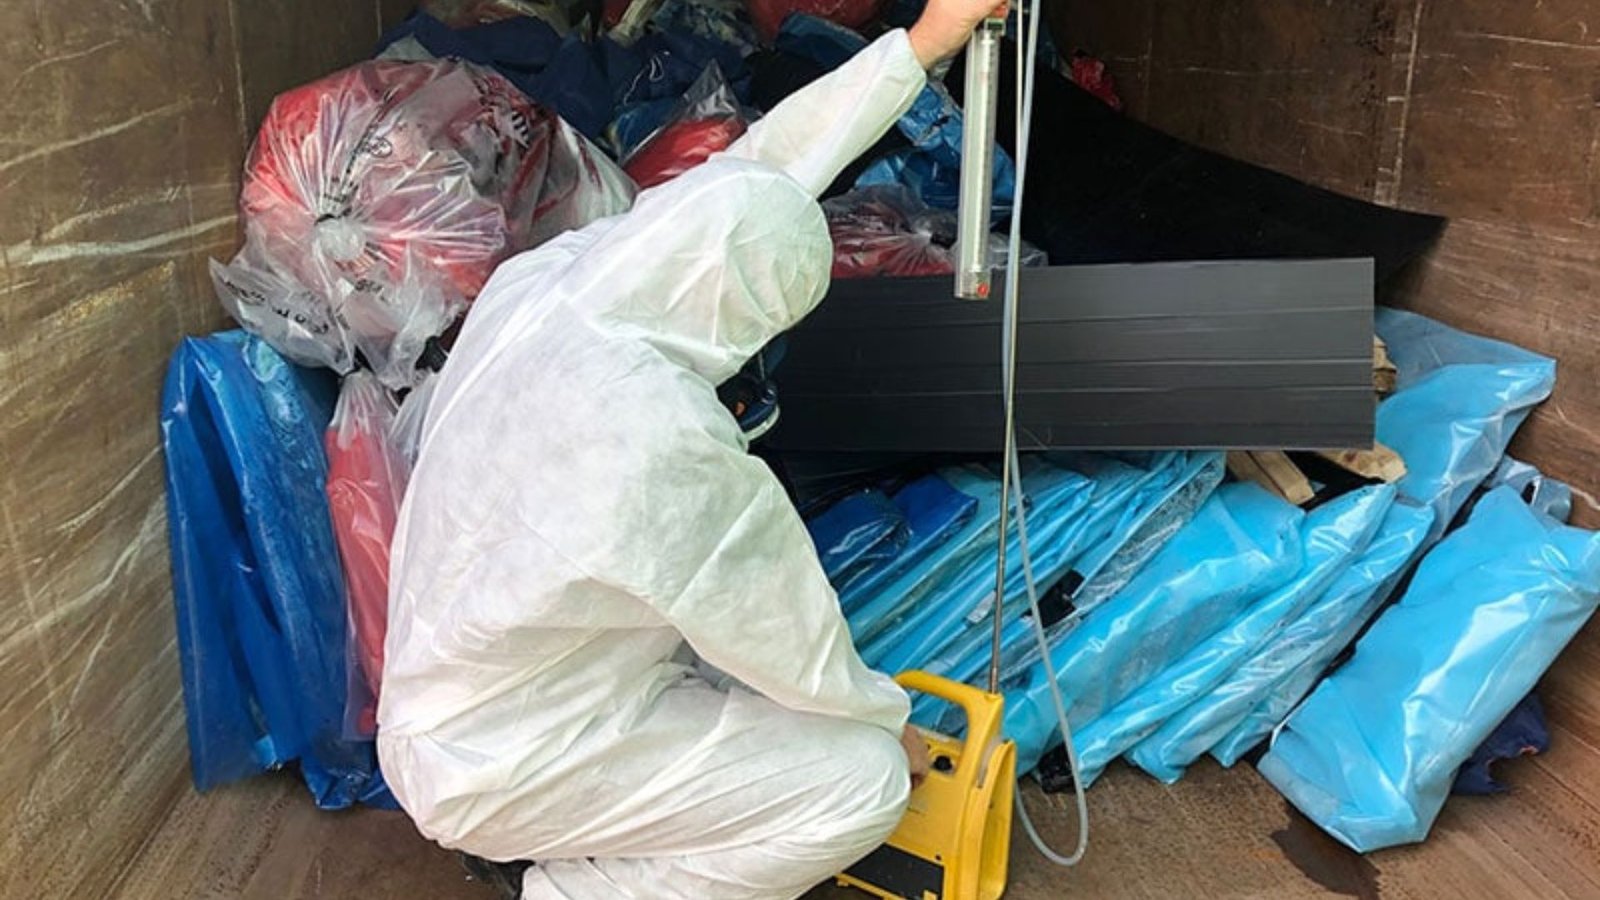
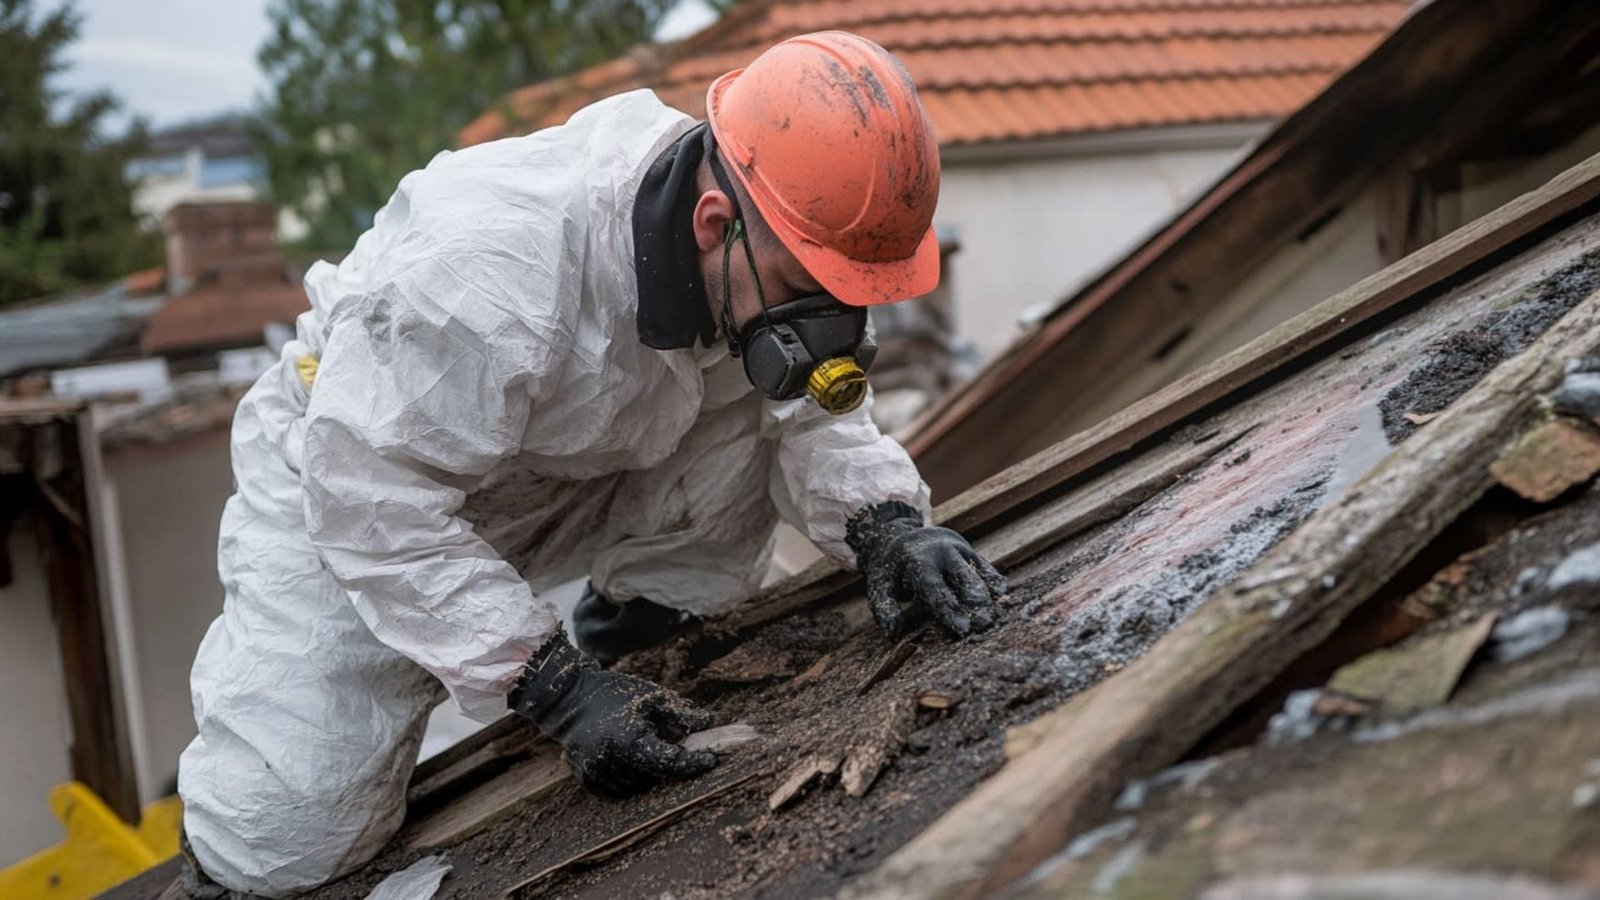
During the sampling, the inspector will wear proper protective equipment, such as a respirator, gloves, and coveralls, to protect themselves from inhaling any asbestos fibres. The area will be contained to prevent contamination of the rest of the home.
5.3 Laboratory Analysis
Once the samples are collected, they will be sent to a laboratory for analysis. The laboratory will determine whether asbestos is present and, if so, at what concentration. The results are usually available within a few days to a week.
6. Plan for Possible Asbestos Removal
While you’re preparing for the test, it’s wise to plan for possible asbestos removal if the test results show that asbestos is present. If the material is in poor condition or likely to be disturbed, you’ll need to take action to remove or encapsulate it. Only a licensed and certified asbestos abatement professional should handle removal.
Important steps to consider:
- Get multiple quotes from licensed asbestos removal companies.
- Follow local regulations regarding the removal and disposal of asbestos.
- Seal off the area: Make sure the work area is isolated from the rest of your home during removal.
- Consider air testing after removal to ensure that the space is safe and free of asbestos fibres.
7. Check Your Local Regulations
Depending on where you live, there may be local regulations regarding asbestos testing and removal. Some areas require asbestos testing before major renovations, while others may require professional certification for handling or disposing of asbestos.
Why it’s important to check:
- Legal requirements: You may be legally required to test for and remove asbestos in certain circumstances, especially if you’re planning to sell or renovate your home.
- Safety guidelines: Different areas have different safety standards for handling and removing asbestos, and you need to comply with those standards to avoid exposure and legal issues.
Before proceeding with the asbestos test, it’s a good idea to check with local authorities or an expert to ensure you’re following all necessary regulations.
8. Understand the Costs
The cost of asbestos testing can vary depending on the size of your home, the number of samples taken, and the laboratory fees. On average, you can expect to pay anywhere from $200 to $800 for asbestos testing. Asbestos removal is more expensive and can cost anywhere from $1,000 to $3,000 or more, depending on the scope of the work.
While the cost of asbestos testing may seem high, it’s a small price to pay when compared to the health risks associated with asbestos exposure. Additionally, testing is often less expensive than removing asbestos later if it’s not properly managed.
Smart Choices at Home and Online
Just like a thorough home inspection helps you make confident decisions, exploring new opportunities online requires careful consideration. A no deposit bonus casino allows users to try out gaming platforms without spending money upfront, offering a low-risk way to explore. It’s a reminder that with the right information, you can make smart, informed choices—whether you’re buying a home or trying something new online. Responsible exploration is always key.
Conclusion
Properly preparing for an asbestos test is crucial to ensure the safety and accuracy of the results. By hiring a certified professional, communicating any concerns, and following the necessary steps, you can ensure that your home is tested correctly and safely.
Remember, asbestos testing should always be the first step before any renovations, demolition, or repairs in an older home. If asbestos is found, take the necessary steps to address it safely and efficiently with professional help. Protecting your health and the health of your family should always be a top priority.


