If you’re planning to buy a home or simply want to check the condition of your house, knowing how to conduct a DIY home inspection can save you time and money. This straightforward guide will walk you through the key steps, ensuring you don’t miss critical details. By taking the time to inspect your home yourself, you can uncover potential problems before they grow into costly repairs. Let’s get into the steps to make your DIY inspection as effective as possible.
Start with the Exterior
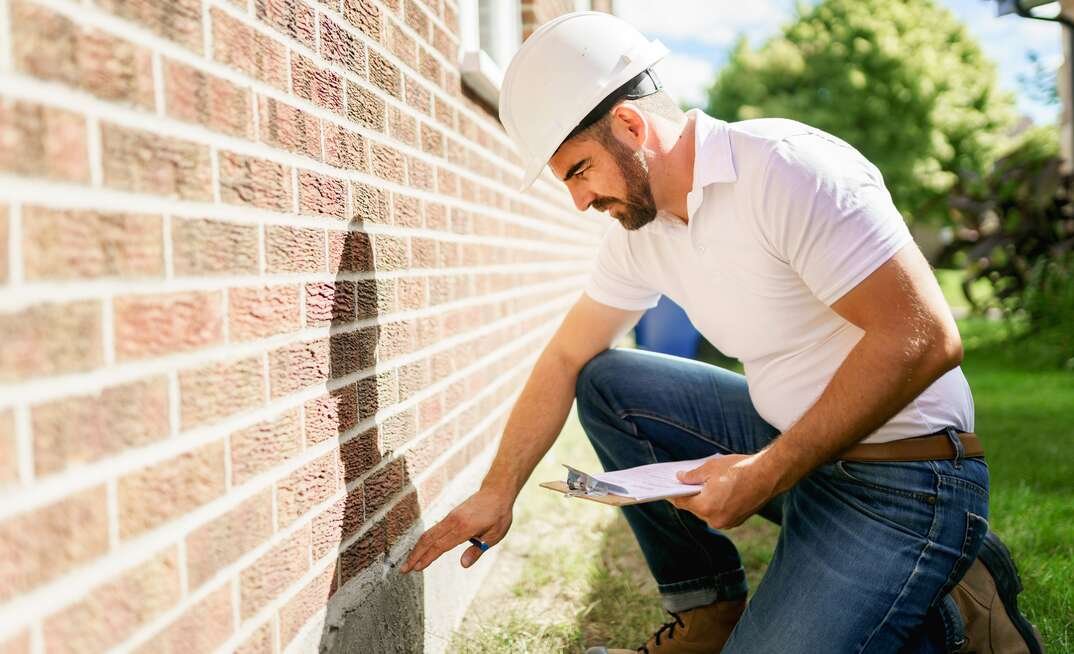
The outside of a house is your first line of defense against weather and wear. Begin your DIY home inspection by walking around the property. Look for cracks in the foundation, damaged siding, or peeling paint. Check the gutters for clogs and ensure they’re draining water away from the house. Inspect the roof for missing or curled shingles, as these can indicate aging or damage.
Pay close attention to any trees near the house, as overhanging branches could lead to roof damage. While outside, make a note of any areas where water might pool, which could signal drainage issues.

Inspect Windows and Doors
Windows and doors can significantly impact your home’s energy efficiency. Check all windows and doors for drafts, cracks, or broken seals during your DIY inspection. Open and close each one to ensure smooth operation. Look for signs of rot in wooden frames or condensation between double panes, which may mean the seal has failed.
Don’t forget to test locks and latches for proper security. Small issues like worn weather stripping can often be fixed easily and will help keep your home well-insulated.
Examine the Walls and Ceilings
Inside the house, take a close look at walls and ceilings. Check for cracks, stains, or discoloration that might indicate water damage. Pay special attention to corners and areas near windows and doors. Bubbles in paint or wallpaper could signal hidden moisture problems.
This step of the DIY home inspection is crucial for identifying underlying structural issues. If you see any significant cracks or sagging, it may require a professional evaluation.
Test Electrical Systems
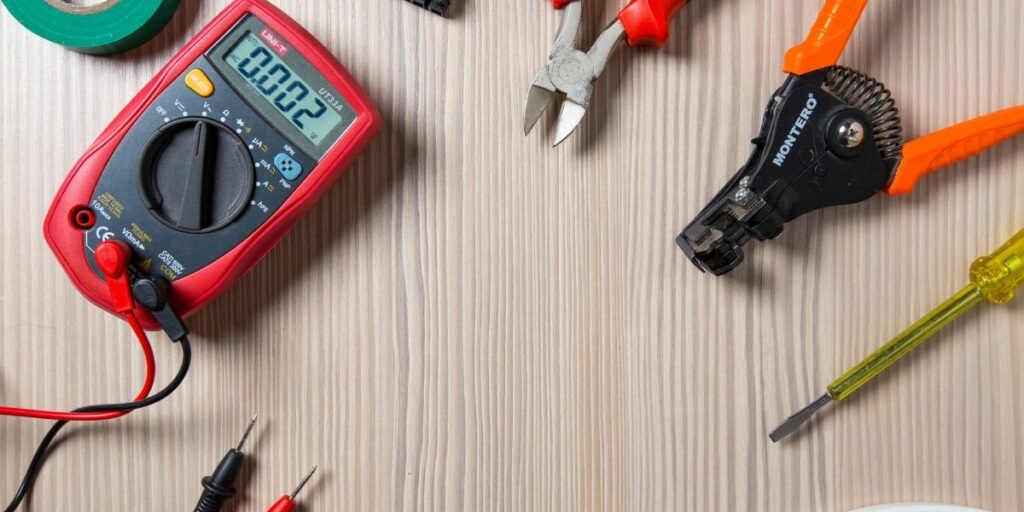
A safe home requires a well-maintained electrical system. Start by testing all light switches and outlets to make sure they work. Use a plug tester to check that outlets are properly grounded. Inspect the circuit breaker panel for signs of rust or burnt areas, as these could indicate serious electrical issues.
During your DIY home inspection, look for overloaded power strips or extension cords, which could signal the need for additional outlets.
Evaluate the Plumbing
Plumbing is another critical area during your DIY home inspection. Check under sinks for leaks or water stains. Run each faucet and flush every toilet to ensure proper water pressure. Look for slow drainage, which could indicate a clog.
Inspect exposed pipes for signs of corrosion or damage. Don’t forget to test outdoor spigots and hoses for leaks, as these can waste water and lead to higher bills.
Inspect Heating and Cooling Systems
Your HVAC system plays a vital role in maintaining comfort. Start by checking the thermostat to ensure it functions properly. Inspect vents for blockages and dust buildup. Change or clean air filters if needed. If the system makes unusual noises or isn’t heating or cooling efficiently, it might require servicing.
Look at your water heater as part of the DIY home inspection. Ensure there’s no rust or leaks, and check that the temperature setting is appropriate.
Check for Pests
Pests like termites, rodents, or ants can cause extensive damage if left unchecked. As part of your DIY home inspection, look for droppings, nests, or chewed materials. Pay attention to basements, attics, and other less-used areas where pests might hide.
Inspect wooden structures for signs of termite activity, like small holes or sawdust piles. If you find anything suspicious, you may need a professional exterminator.
Inspect the Attic and Basement
Your attic and basement can reveal a lot about the condition of your home. Check the attic for proper ventilation and insulation. Look for signs of leaks or pests. In the basement, search for water stains, cracks in the walls, or a musty odor, which might indicate mold or mildew.
A thorough DIY home inspection includes ensuring these spaces are dry and well-maintained.
Test Safety Features
Don’t forget to test your home’s safety features. Check smoke detectors and carbon monoxide alarms to ensure they’re functional. Inspect fire extinguishers for expiration dates. Ensure stair railings are secure and that any steps are even and free of hazards.
Make sure emergency exits are clear and easy to access during your DIY home inspection.
Review the Garage and Driveway
Finally, inspect your garage and driveway. Check the garage door opener and ensure the door closes securely. Look for cracks or potholes in the driveway that could worsen over time. Test electrical outlets and lights in the garage, just as you did inside the house.
A clean and well-maintained garage and driveway add to your home’s safety and curb appeal.
Conclusion
Knowing how to conduct a DIY home inspection empowers you to take charge of your home’s maintenance and safety. By following these steps, you can identify problems early and avoid costly repairs. Regular inspections will keep your home in excellent condition, providing peace of mind and added value.


