If you live in or own an older property, you may have concerns about the presence of asbestos. Asbestos was commonly used in building materials before the 1980s, and it can be harmful if disturbed. An asbestos testing checklist for older properties can help ensure your property is safe from asbestos exposure. Here’s a simple guide on how to prepare for testing and what to expect.
Why an Asbestos Testing Checklist for Older Properties Is Important
When it comes to the asbestos testing checklist for older properties, preparation is key. Asbestos can cause serious health problems, such as lung disease and cancer, if the fibers are inhaled. It is important to test any home built before the 1980s for asbestos, especially if you’re planning renovations or selling the property. Following a checklist can help you ensure that the testing process is thorough and safe.
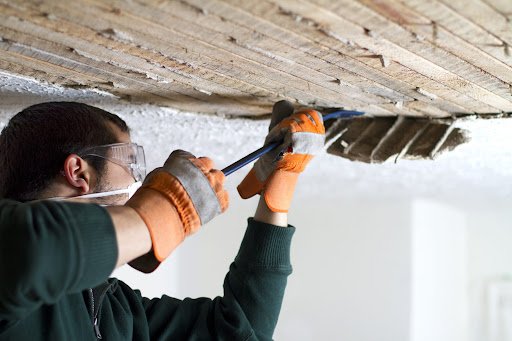
1. Identify Areas Likely to Contain Asbestos
The first step in an asbestos testing checklist for older properties is identifying areas where asbestos might be found. Asbestos was used in many building materials, including insulation, flooring, roofing, and walls. Common places to check for asbestos include:
- Attic insulation
- Floor tiles and adhesives
- Ceiling tiles
- Roofing materials
- Pipes and pipe insulation
- HVAC ducting and insulation
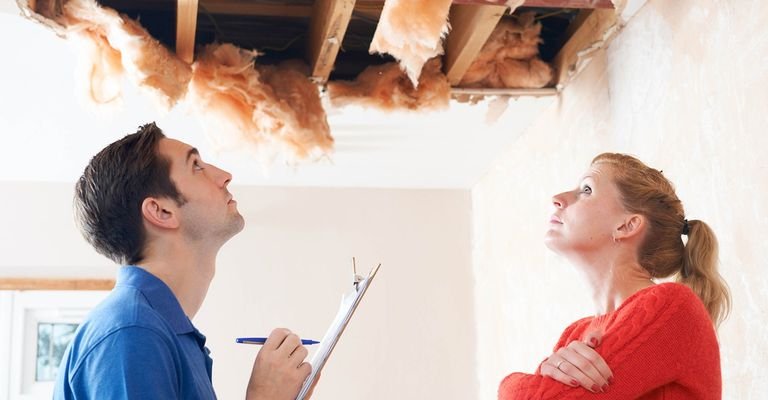
If you’re unsure where asbestos may be located, consider hiring a professional to inspect your property and identify potential risks.
2. Clear the Area for Safe Testing
Before testing begins, it’s important to clear the area. This is another key step in your asbestos testing checklist for older properties. Remove any furniture, personal belongings, and items that could get in the way of the testers. This will give the professionals full access to the areas that need to be tested and prevent contamination of your belongings.
Ensure that no one enters the testing areas while the process is underway. You may need to block off certain rooms or sections of your home to prevent accidental exposure to asbestos fibers.
3. Hire a Certified Asbestos Testing Professional
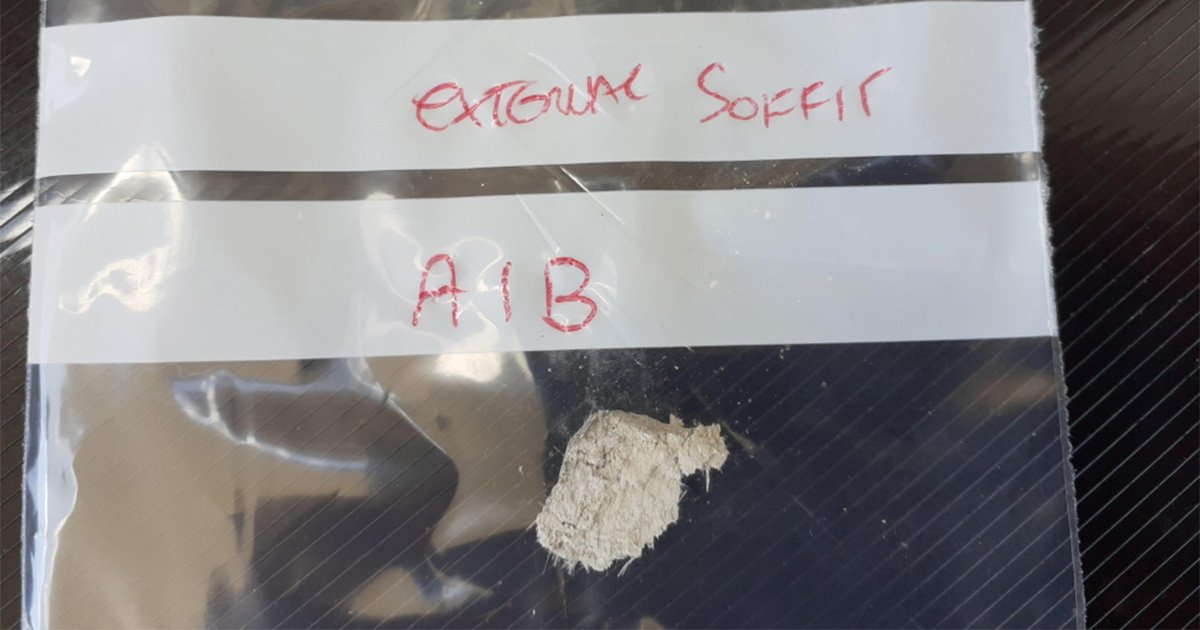
Next, it’s time to hire a certified asbestos testing professional. A trained expert will know how to properly collect samples, identify potential hazards, and analyze the results. This is one of the most crucial steps in your asbestos testing checklist for older properties. Never attempt to collect samples yourself, as disturbing asbestos materials can release dangerous fibers into the air.
Ask for references or reviews when hiring an asbestos professional to ensure they have the right experience and qualifications. Make sure they use proper safety equipment, such as masks and gloves, when handling materials suspected of containing asbestos.
4. Test Multiple Areas for Thorough Results
Your asbestos testing checklist for older properties should include testing multiple areas in the home, not just one. Asbestos may be present in more than one material or area, so it’s essential to test multiple locations. Be sure the professional conducts thorough testing of:
- Insulation (attic and walls)
- Flooring and floor adhesives
- Ceiling materials
- Pipes and plumbing insulation
- Roofing materials
Multiple samples should be taken from different areas to get a complete picture of whether asbestos is present. This helps ensure that no hazardous materials are overlooked.
5. Ensure Proper Ventilation During Testing
While the testing is taking place, make sure the area is properly ventilated. Good air circulation is important to prevent asbestos fibers from spreading. If the area being tested is sealed off, you may want to open windows in other parts of the home to keep air flowing and help reduce the concentration of any airborne particles.
Proper ventilation is a simple but effective step in your asbestos testing checklist for older properties to ensure a safer testing environment. Always follow the advice of your asbestos testing professional to maintain proper ventilation.
6. Review the Results and Plan Next Steps
Once the testing is complete, the professional will provide a report with the results. This is a vital step in your asbestos testing checklist for older properties. Review the report carefully to understand where asbestos was found, what materials contain it, and the severity of the problem. If asbestos is found in your home, don’t panic.
If the asbestos is not disturbed and remains in good condition, it may not be necessary to remove it right away. However, if the asbestos is damaged or if you’re planning renovations that could disturb the materials, removal may be necessary. Always follow the recommendations provided by your asbestos professional.
7. Take Action If Asbestos Is Found
If asbestos is found in your property, the next step is to take action. Depending on the severity of the situation, you may need to remove the asbestos materials or seal them to prevent further exposure. Make sure to hire a certified asbestos removal company if removal is necessary. Only professionals with the proper equipment and expertise should handle asbestos removal.
As part of your asbestos testing checklist for older properties, make sure you address any problems found during the testing. Delaying removal or remediation could expose you and your family to harmful asbestos fibers.
Conclusion
In conclusion, an asbestos testing checklist for older properties is essential for ensuring the safety of your home or building. By identifying potential asbestos-containing areas, clearing the area for testing, hiring a certified professional, and following the necessary safety precautions, you can make the testing process much easier. Once you have the results, take action to remove or seal any dangerous materials.
Asbestos testing doesn’t have to be overwhelming. With careful planning and the right experts, you can keep your property safe and healthy. Be proactive and take the necessary steps to protect yourself and others from the dangers of asbestos exposure.

