Asbestos is a dangerous substance commonly found in older homes. While it was widely used in construction for its heat-resistant properties, we now know that exposure to asbestos fibres can cause serious health problems, including lung cancer and asbestosis. If you live in an older home and are planning renovations or repairs, it’s crucial to test for asbestos to protect your health.
In this article, we will explain the asbestos testing process in simple terms, so homeowners can understand the steps involved and what to expect.
1. Why Asbestos Testing is Important for Homeowners
Asbestos was commonly used in construction materials before the 1980s. Materials like insulation, ceiling tiles, flooring, roofing, and wallboards often contain asbestos. While these materials are not dangerous if left undisturbed, they can release harmful fibres when disturbed—during renovations, for example.
If you’re planning to remodel your home, purchase an older property, or simply want to ensure a safe living environment, asbestos testing is crucial. The testing process will help identify whether asbestos is present, so you can take the necessary precautions.
2. Step 1: Hiring a Certified Asbestos Inspector
The first step in the asbestos testing process is to hire a certified asbestos inspector. This is not a DIY job; you need an expert with the knowledge and equipment to safely test for asbestos. Here’s how to hire a certified inspector:
- Search for licensed professionals: Look for inspectors who are licensed and trained in asbestos testing. They should have certifications from your local government or a recognized agency.
- Get recommendations: Ask friends, family, or contractors if they have recommendations for reliable asbestos inspectors.
- Research online: Check reviews and make sure the inspector has a good track record of conducting thorough and safe asbestos inspections.
Choosing a certified inspector ensures that the testing is done correctly, and your safety is prioritized.
3. Step 2: Scheduling the Inspection
Once you’ve chosen an inspector, schedule the inspection. During this phase, you’ll need to provide some basic details about your home. Be prepared to share:
- The age of the home: Homes built before the 1980s are more likely to contain asbestos.
- Your concerns: If you’re renovating or have noticed deteriorating materials, let the inspector know. This helps them focus on the most important areas.
- Areas of concern: If you know certain areas (like insulation or floor tiles) might contain asbestos, inform the inspector beforehand.
Most inspections can be scheduled within a week or two, depending on the inspector’s availability.
4. Step 3: Visual Inspection of the Property
When the inspector arrives, they will begin with a visual inspection of your home. The inspector will focus on areas where asbestos is most likely to be found, such as:
- Insulation: This is one of the most common areas to find asbestos, particularly around pipes, attics, and walls.
- Floor tiles: Many older floor tiles, adhesives, and carpeting materials contain asbestos.
- Ceilings: Popcorn ceilings and textured coatings used in older homes may contain asbestos.
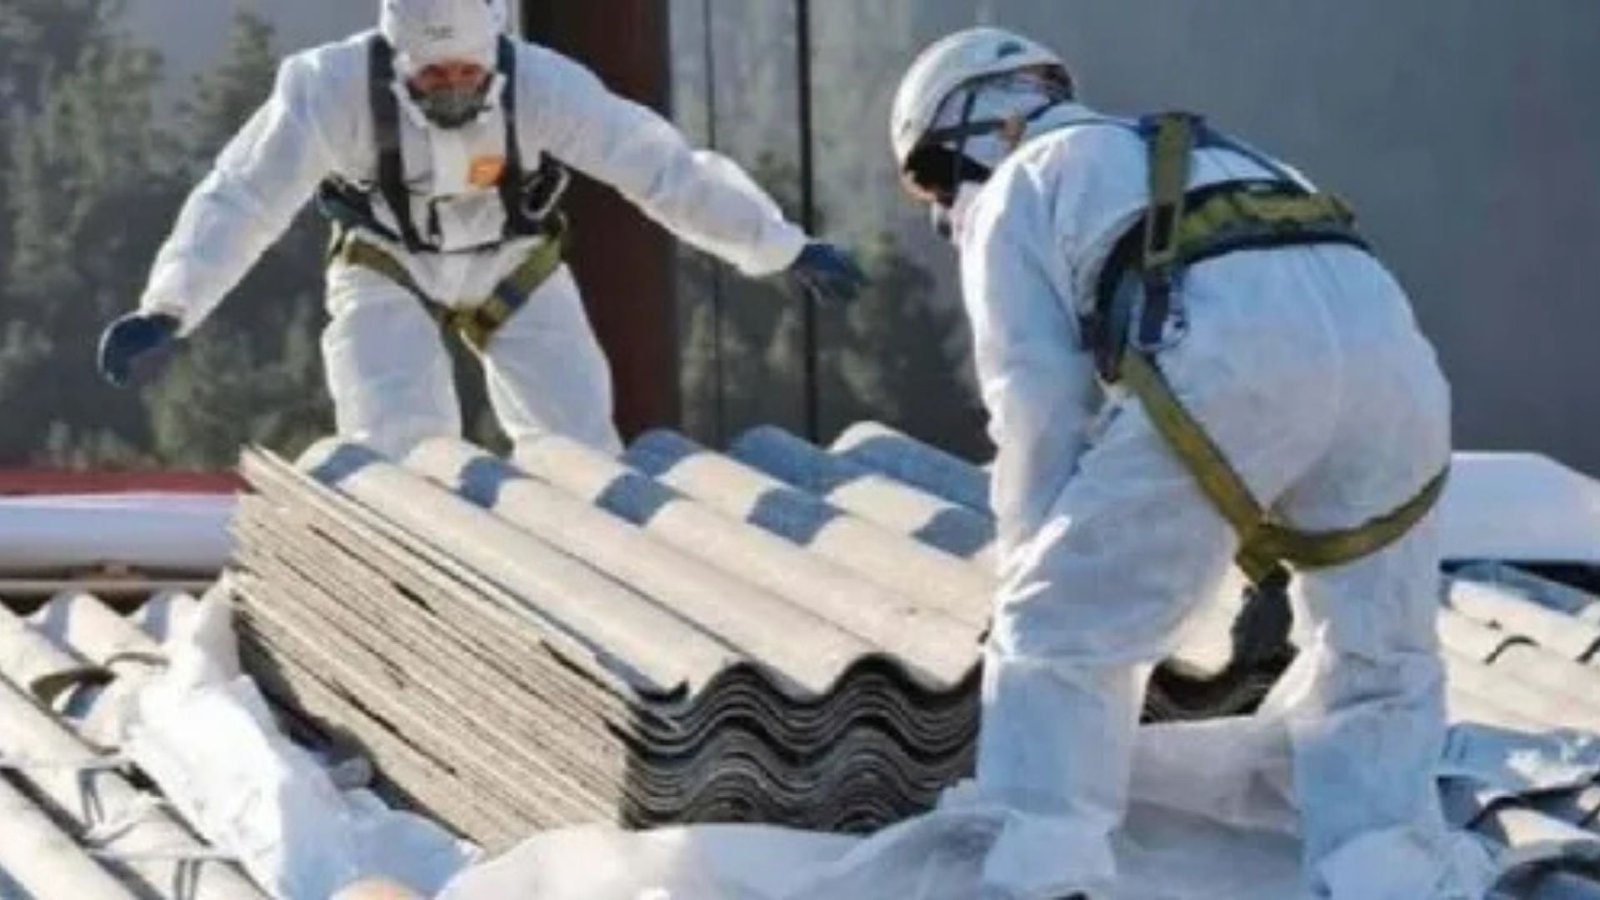
- Roofing and siding: Some roofing and siding materials were also made with asbestos.
The inspector will not only visually examine these areas but will also check for signs of damage. If any materials are deteriorating, it increases the risk of asbestos fibres being released into the air.
5. Step 4: Sampling Suspected Asbestos Materials
If the inspector suspects that any materials in your home contain asbestos, they will take samples for laboratory testing. Here’s what happens during this phase:
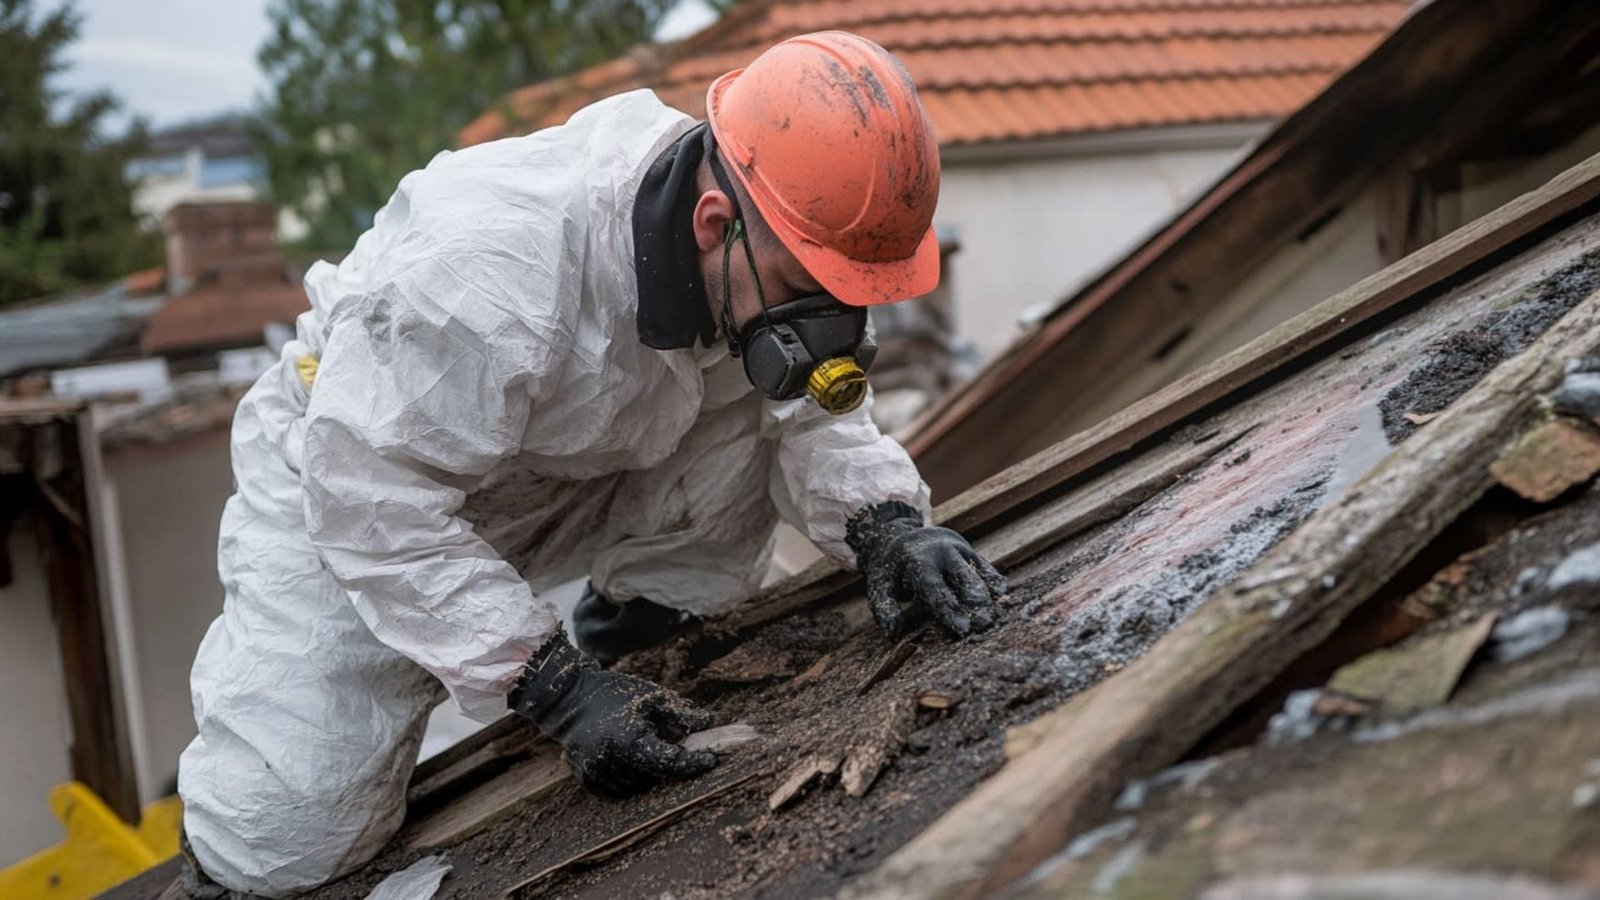
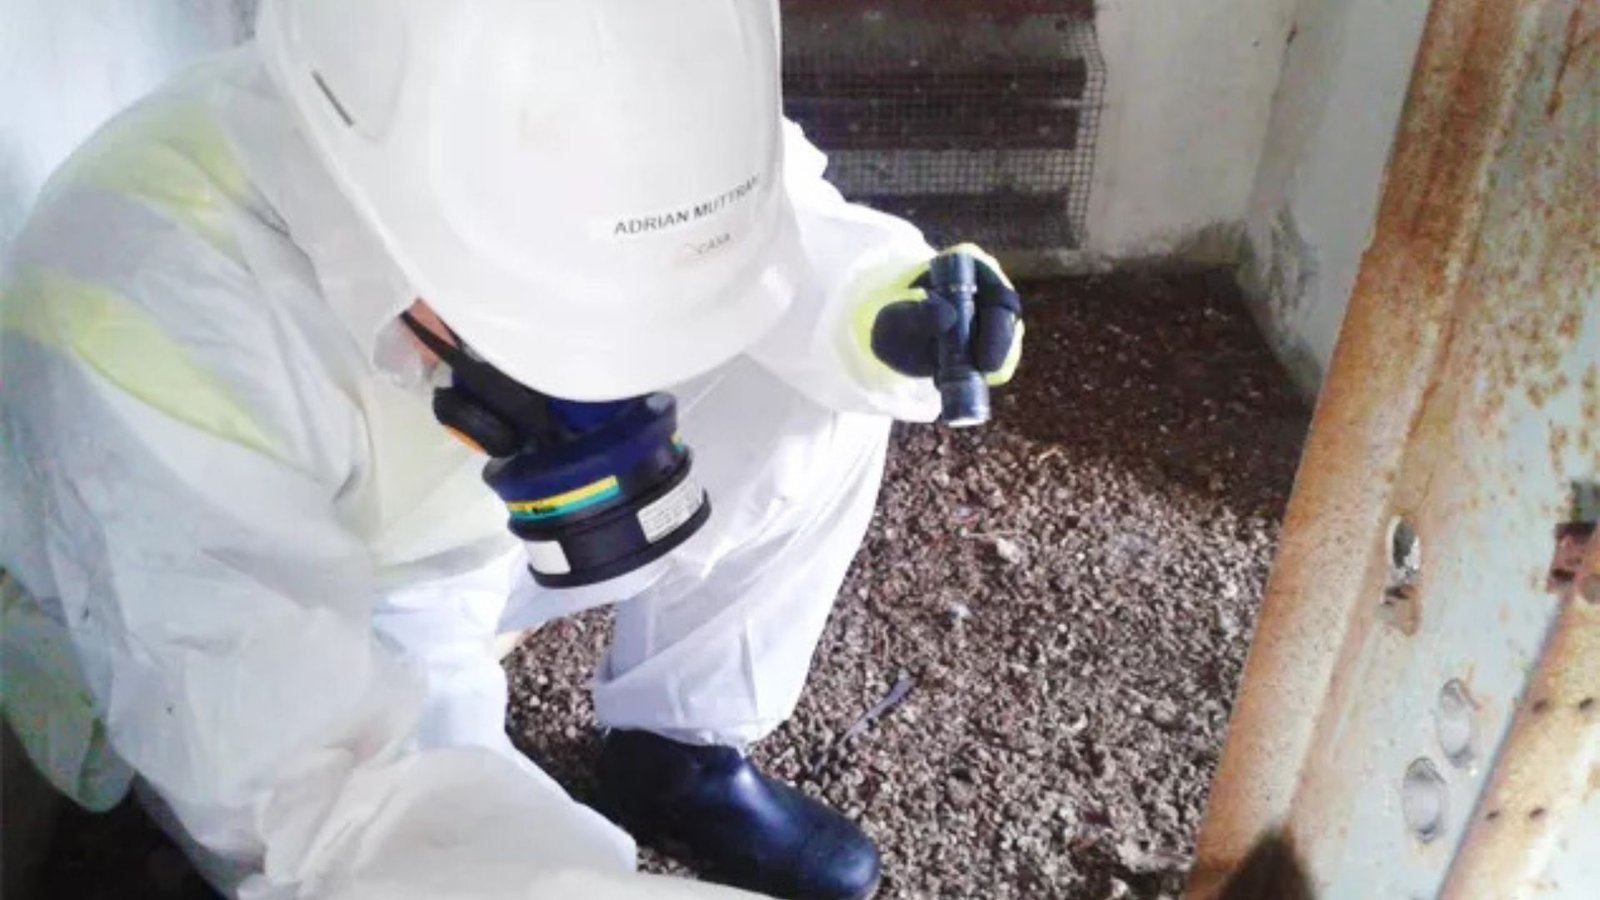
- Safety precautions: The inspector will wear personal protective equipment (PPE) to avoid inhaling any asbestos fibres. They will also ensure the area is sealed off to prevent contamination.
- Careful sampling: The inspector will use special tools to carefully remove small samples from materials like insulation, floor tiles, or ceiling coatings. The samples are usually just a few grams, but they will be enough to test for the presence of asbestos.
- Minimal disturbance: The goal is to collect samples without disturbing the material too much, as this can release dangerous fibres.
The samples are then packaged and sent to a certified laboratory for analysis.
6. Step 5: Laboratory Testing
After the samples are taken, they will be sent to a laboratory where experts will analyze them for the presence of asbestos. This part of the asbestos testing process involves:
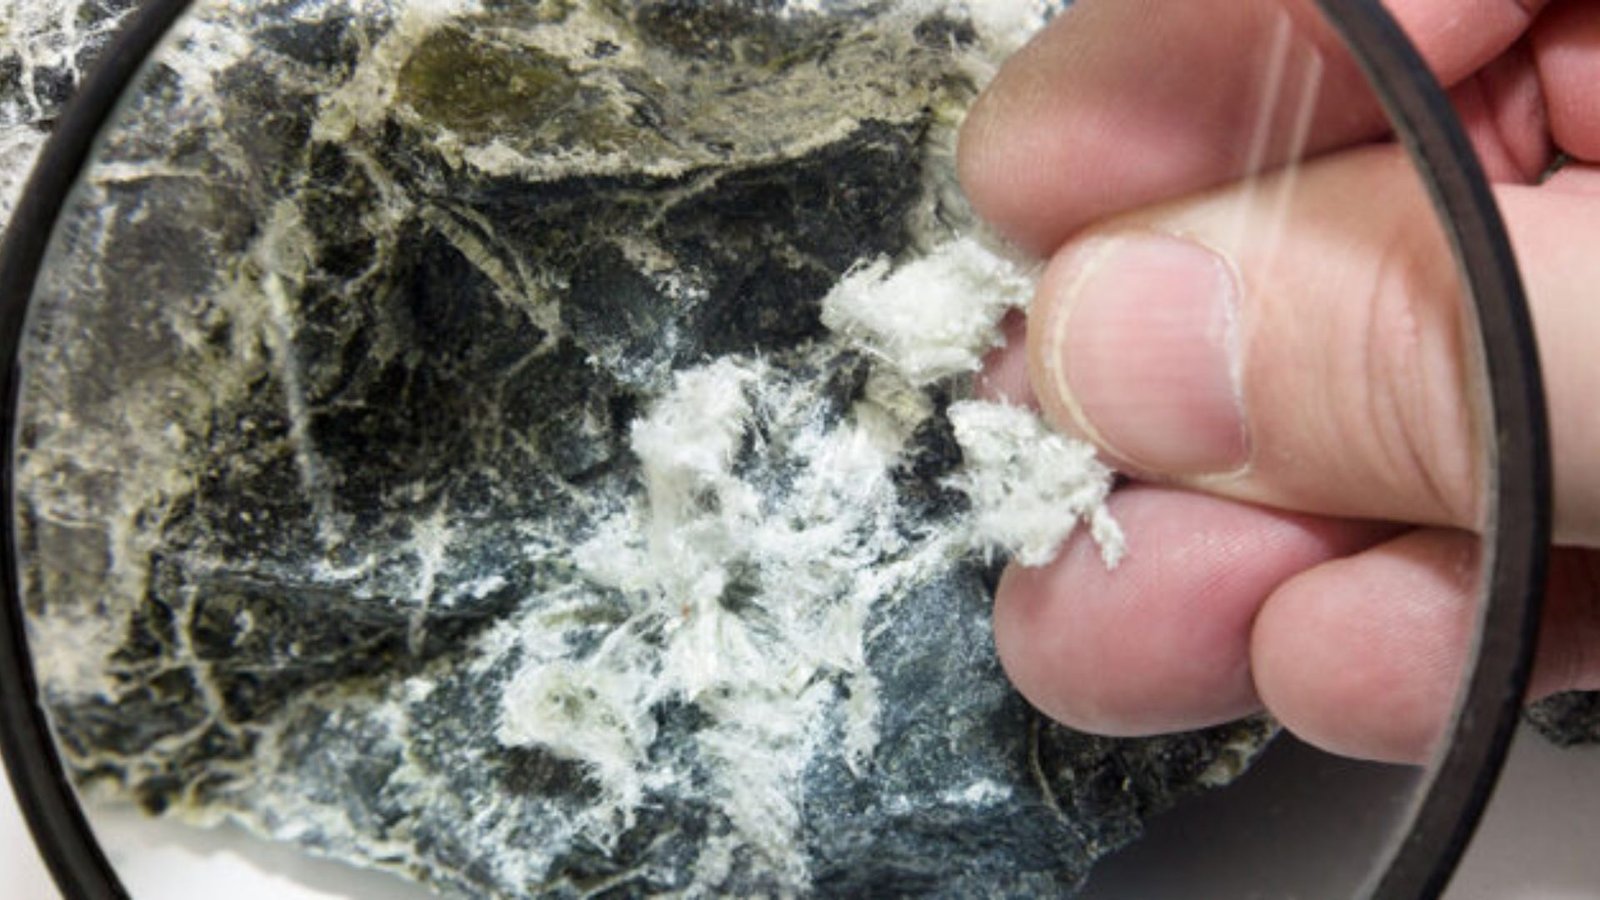
- Microscopic analysis: The lab will examine the samples under a microscope to detect the presence of asbestos fibres.
- Asbestos identification: If asbestos is present, the lab will identify the type of asbestos (chrysotile, amosite, or crocidolite), which can help determine the severity of the risk.
- Results: The lab will send the results back to the inspector, usually within 3-7 days, depending on the complexity of the samples.
The laboratory results will confirm whether asbestos is present and, if so, the type and concentration level.
7. Step 6: Receiving and Understanding the Results
Once the laboratory completes the analysis, you will receive a report from the asbestos inspector. This report will include:
- Asbestos detection: The report will indicate if asbestos was found in the tested samples. If no asbestos is detected, that’s good news.
- Asbestos type and concentration: If asbestos is present, the report will specify the type of asbestos and the concentration. Some types of asbestos are more dangerous than others, and high concentrations present a greater risk.
- Recommendations for action: The report will provide recommendations based on the findings. If the asbestos materials are in good condition and undisturbed, the inspector may recommend leaving them alone. If the materials are damaged or renovation is planned, the report will suggest professional removal.
Understanding the results is crucial for deciding how to proceed. If asbestos is found, it’s important to follow the recommendations to protect your health and the health of others in the home.
8. Step 7: Taking Action After the Test
After receiving the test results, you’ll need to decide how to manage the asbestos. There are a few options:
- Leave it undisturbed: If the asbestos-containing materials are in good condition and are not at risk of being disturbed, the safest option may be to leave them alone. In this case, regular monitoring is advised to ensure they remain intact.
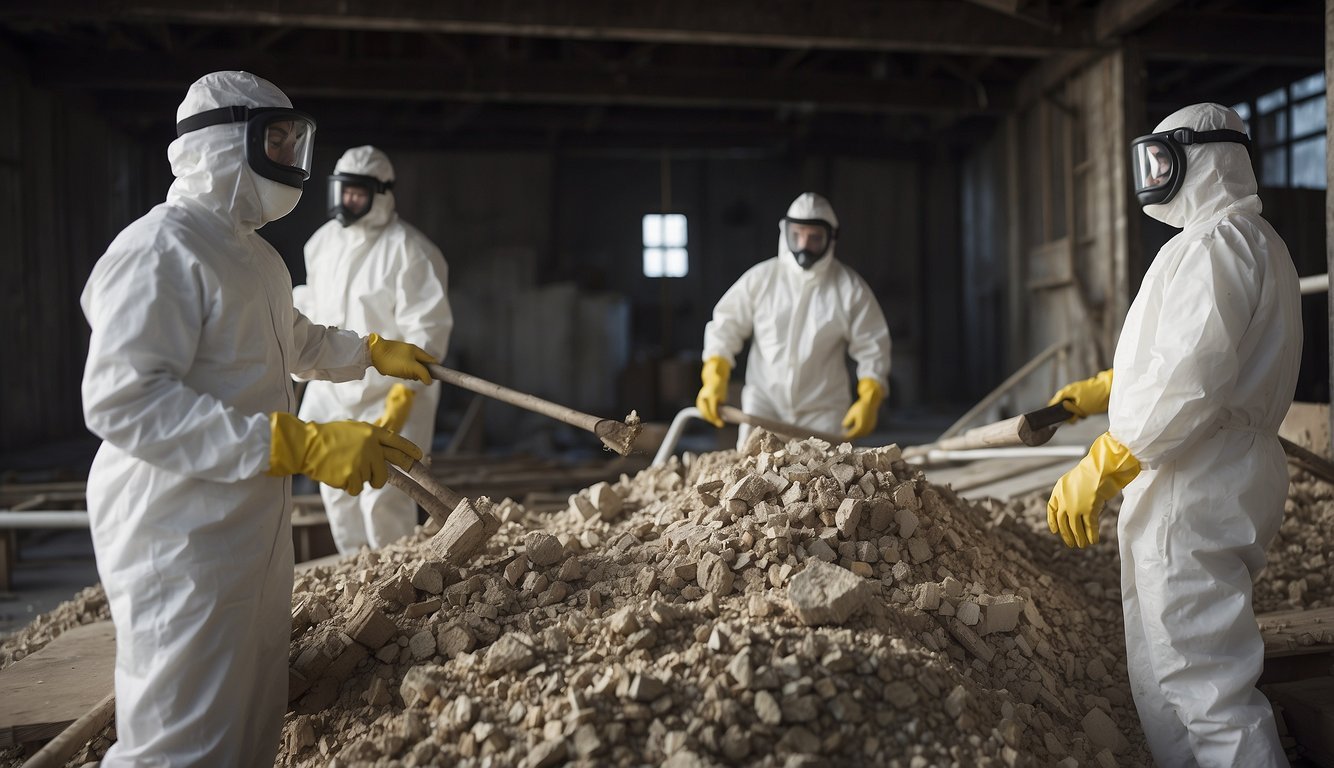
- Professional removal: If the asbestos is in a damaged condition or if you plan to remodel or disturb the materials, professional removal is necessary. Certified asbestos removal contractors can safely remove and dispose of asbestos-containing materials.
- Encapsulation: In some cases, it may be possible to encapsulate asbestos materials by applying a special sealant. This prevents the fibres from being released into the air.
It’s important to never attempt to remove asbestos yourself. Improper handling of asbestos can lead to serious health risks, including the release of dangerous fibres into the air.
9. Cost of Asbestos Testing
The cost of asbestos testing depends on several factors, including the size of your home, the number of samples needed, and the type of testing required. On average, asbestos testing costs between $300 and $800 for a single sample. The more samples you need, the higher the cost. If asbestos removal is required, the cost can range from $1,500 to $10,000 or more, depending on the amount of asbestos in your home and the extent of the removal.
While these costs may seem high, they are a small price to pay for your health and safety. The cost of managing asbestos is often far less than the potential medical bills associated with asbestos-related diseases.
Conclusion
The asbestos testing process is an essential step in ensuring your home is safe from the dangers of asbestos exposure. By hiring a certified asbestos inspector, scheduling a thorough inspection, and taking appropriate action based on the test results, you can protect yourself and your family from the serious health risks associated with asbestos.
If your home was built before the 1980s, it’s a good idea to consider testing for asbestos before renovating or buying the property. Early detection and proper management are key to ensuring a healthy living environment.

